
What A Powered USB Hub Actually Does
A regular USB hub is just a splitter. It takes one port and turns it into four, but every one of those four ports is still pulling its power from the same source, your computer. Add a power-hungry device and you’re asking one outlet to run a space heater and a hair dryer at the same time. Something’s going to brown out.
A powered USB hub plugs into the wall on its own. Every port gets its own dedicated power, on top of whatever the computer is sending. It’s less like a splitter and more like adding a second breaker to the room.
Why Dental X-Ray Sensors Need One More Than Almost Anything Else You Own
Here’s the part most offices don’t know until it bites them.
Your sensor already ships with a cable that’s close to 10 feet long. That’s already near the practical limit for a standard USB cable to carry both data and power reliably. Now put that sensor on a device that draws a real amount of power every time it captures an image, running through a cable that’s already stretched close to its limit before it even reaches the computer.
We’re not going to pretend every sensor on the market draws exactly the same amount of power off the wire. It doesn’t, and the manufacturers don’t publish that number in a way that’s easy to compare. What we do know, from fixing these things every day, is that the failure pattern is identical across brands: the image looks washed out, the sensor disconnects mid-capture, or the software just stops seeing it at all. That’s a power and signal problem showing up as a sensor problem.
A powered USB hub sitting between the sensor and the computer gives that signal a boost partway through the run, and gives the sensor its own clean source of power instead of asking it to fight for scraps at the end of a 10-foot cable. Sure, most operatories go months without an issue and figure they don’t need one. Then a busy Thursday afternoon hits, the sensor drops three times in an hour, and the front desk is apologizing to a patient in the chair. A $40 hub is cheaper than that afternoon.
How To Set It Up
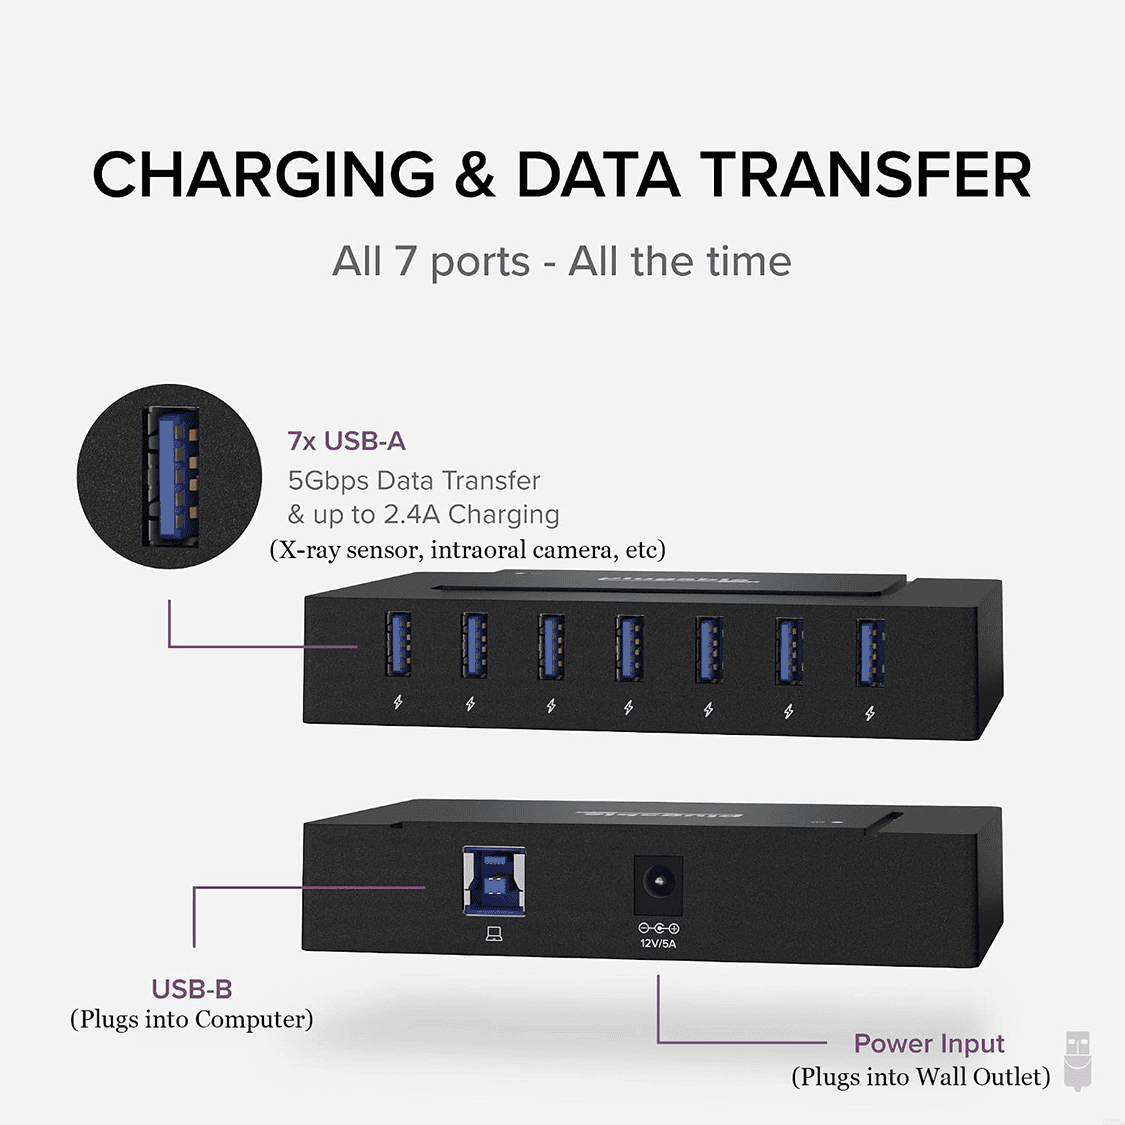
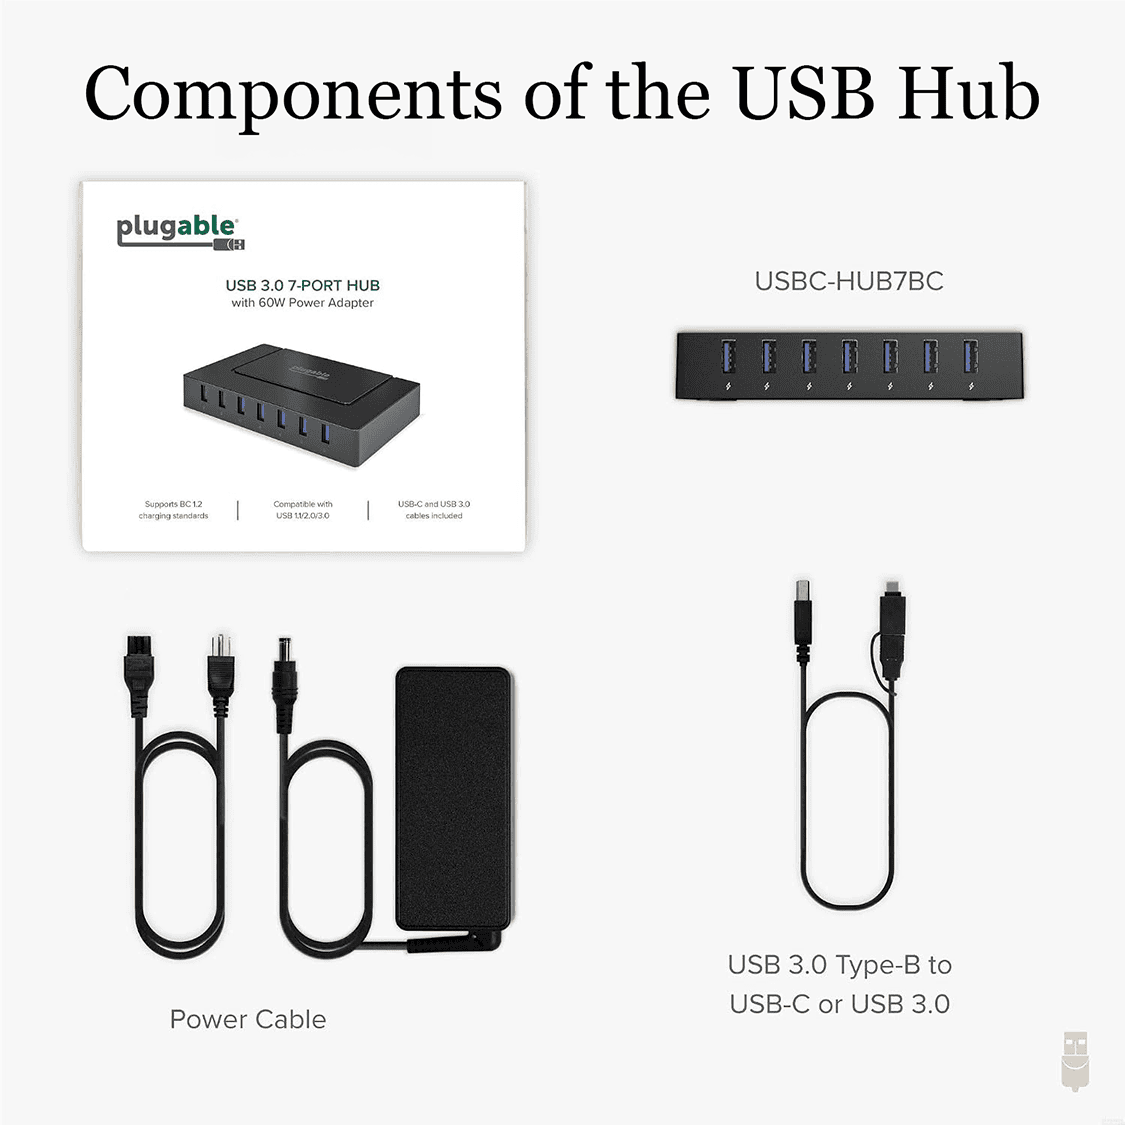
- Plug the powered hub’s adapter into the wall first. Confirm the hub’s power light is on before connecting anything else.
- Connect the hub to your computer using the included USB-C or USB-A cable.
- Plug your sensor’s cable into one of the hub’s open ports.
- Give the computer a minute to recognize the new device, then open your imaging software and confirm the sensor shows up.
- Leave the hub somewhere it won’t get knocked off the counter or buried under a keyboard. Airflow matters less than not getting unplugged by accident.