
Dental sensor not working? Before anyone tells you to buy a new one for $8,000+, run through the four checks below. Most of them cost nothing, a couple cost the price of a cable, and your front desk can do all of them in about 15 minutes.
Most sensors that come across our repair bench really are broken. But every so often one shows up that works perfectly here, and the problem back at the office was a tired USB port, a cable or an interface box all along. So rule out the cheap stuff first.
Why Your Dental Sensor Is Not Working
Your sensor is probably doing one of these:
- It doesn’t show up at all. Your imaging software says “no sensor found,” “sensor not recognized” or “no sensor ready.”
- It works some days and not others. Same room, same computer, different result.
- It misfires. It takes an image before you expose it, gives you white images, or fills the screen with static instead of an X-ray.
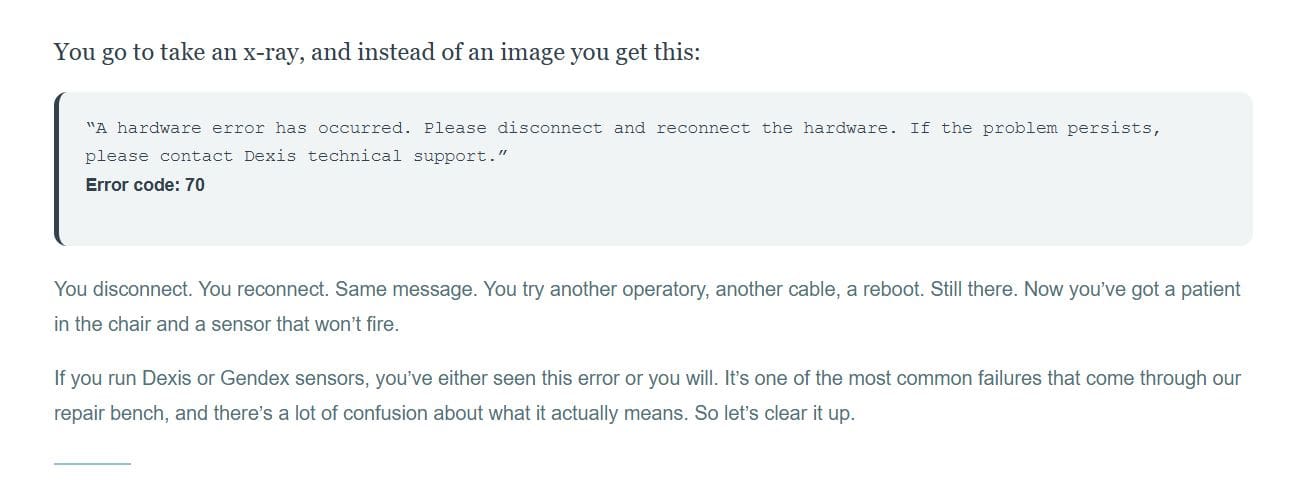
- Your software crashes or throws errors when you try to take an image, whether that’s Dexis, Kodak/Carestream, Eaglesoft, Apteryx, Prof. Suni or something else.
If your sensor is doing any of these and the steps below don’t fix it, we can probably repair it.
Step 1: Check the USB Port
 A USB port can go bad and still look fine. It shows up in the computer, your mouse works in it, but your sensor doesn’t. A sensor pulls a lot of power and moves a lot of data quickly, so a weak port causes random problems that look like a broken sensor.
- Move the sensor to a different port, one that isn’t right next to the one you’re using now. Plugged into a front port? Try a back port, and vice versa.
- Plugged into a USB hub? Unplug it from the hub and plug it straight into the computer. You may have to reinstall the drivers if the computer doesn’t do it automatically. (If you’re already stumped at this step, give us a call.)
If moving ports fixes it, buy a powered USB hub (one with its own plug that goes into the wall), plug it into the working port and plug your sensor into the hub. That protects your last good port. Here are the powered USB hubs we recommend for dental sensors, and here’s more on the USB power problem that keeps killing x-ray sensors.
Step 3: Swap the Interface Box
 Interface boxes go by a lot of names: Schick CDR box, Schick USB remote, DexUSB, Suni interface box, Trophy interface box and others.
There’s really only one way to test a box in your office. Borrow a working box from another operatory and swap it in. If that fixes it, you need a new box. Talk to your dealer, or call us at 1-800-821-8962. We often have pre-owned interface boxes for sale.
Don’t Want to Do Any of This Yourself?
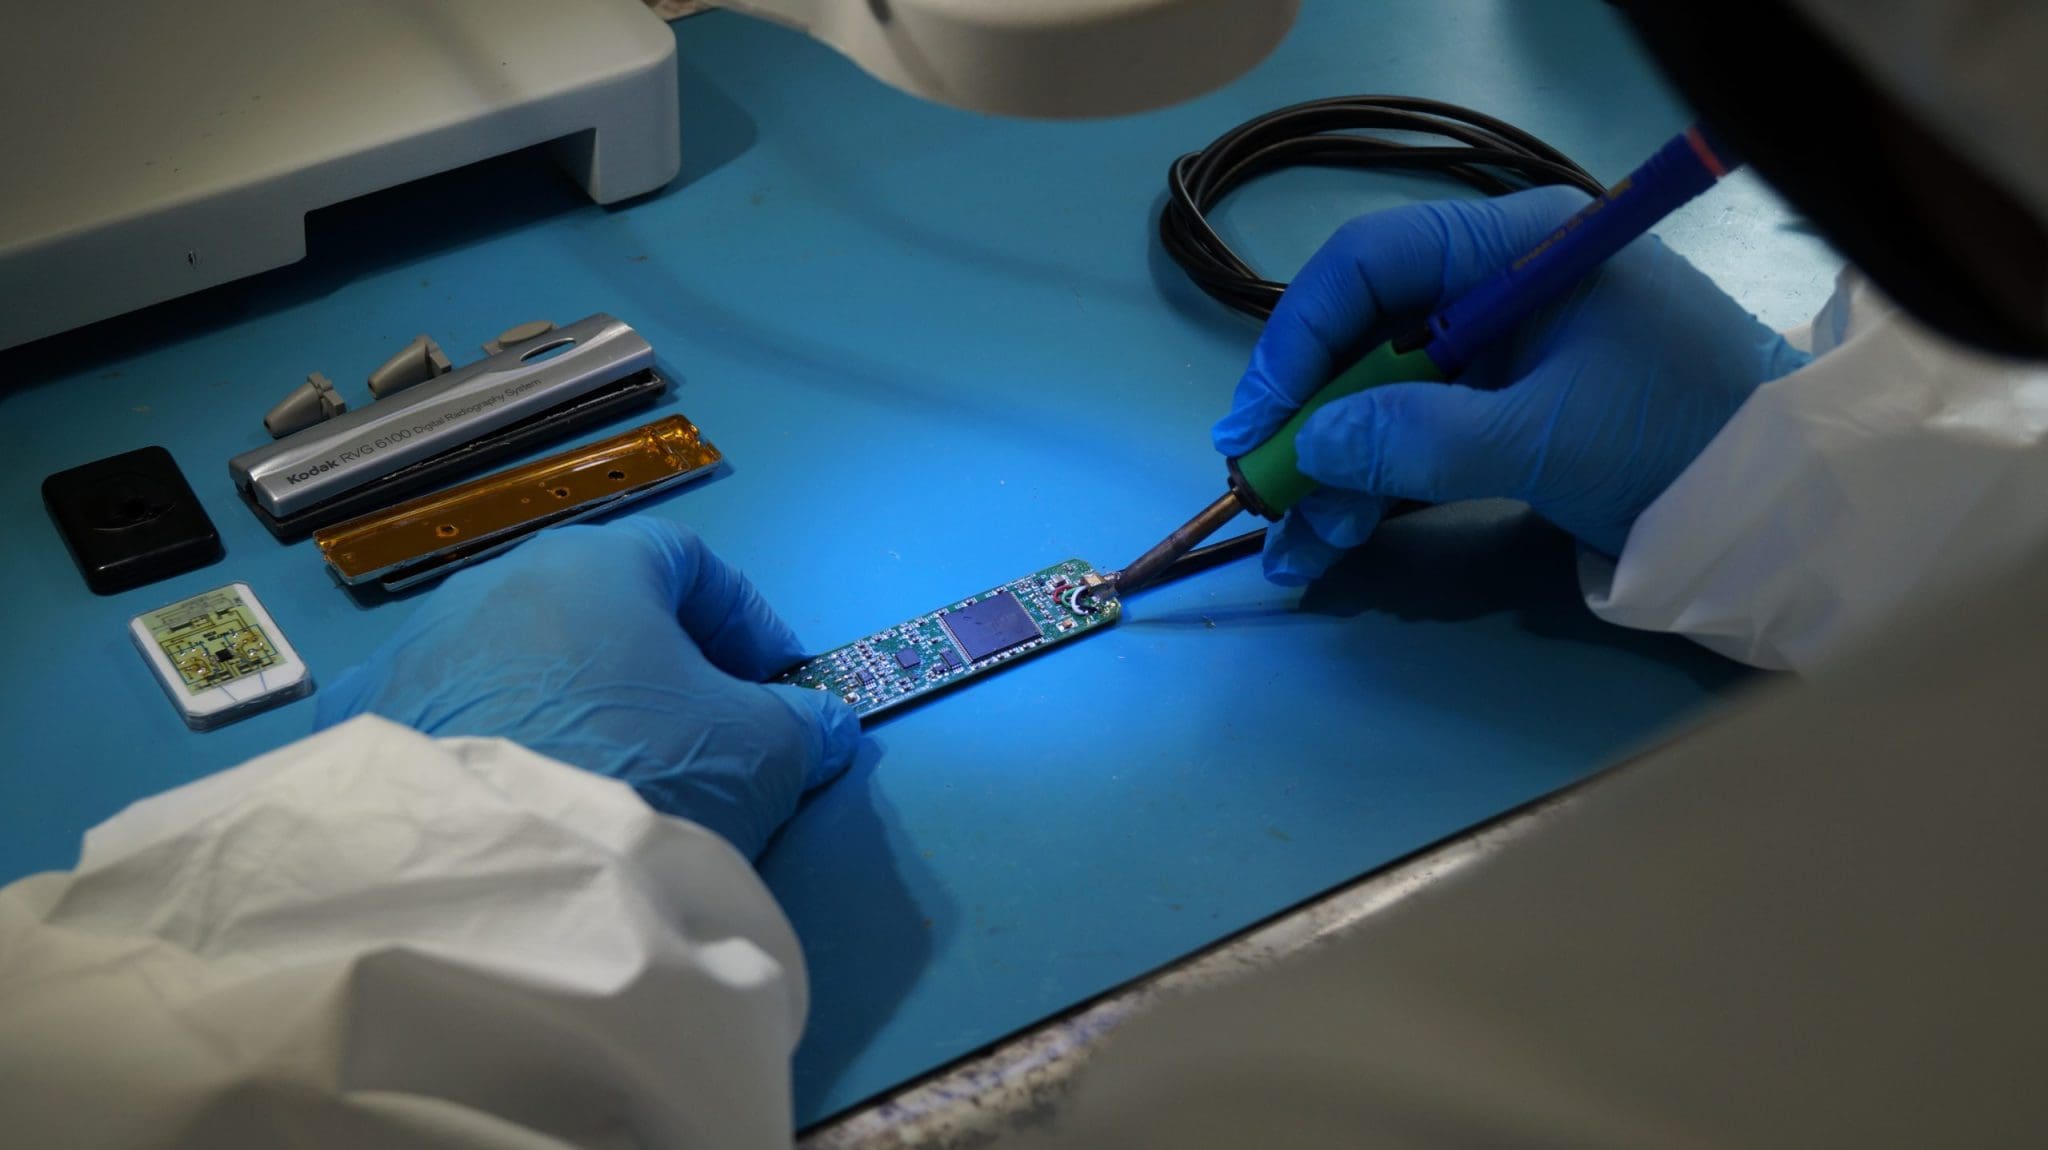
Send us the sensor. If it works on our bench in preliminary testing, we ship it back and help you track down the real problem with your system over remote support. If it needs a repair, you get an estimate within 48 hours.
Can’t be without a sensor while yours is here? Rent a 30-day loaner sensor. And if it turns out yours isn’t worth fixing, we sell pre-owned sensors that are bench-tested with 36 X-rays before they ship.


Leave A Comment
You must be logged in to post a comment.