
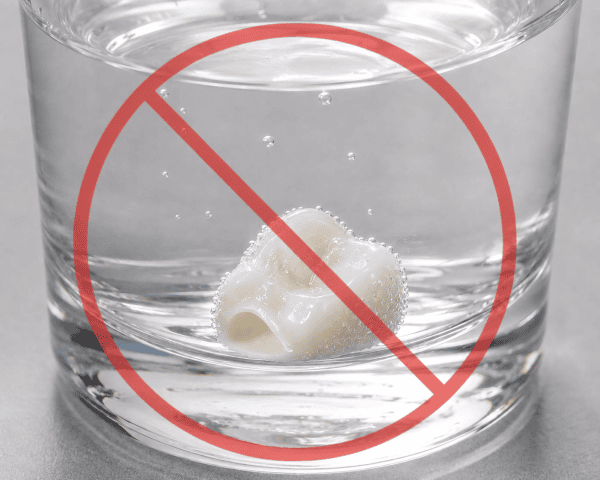
The wrong way
Most resin prints get dunked. You finish the print, drop the part in an alcohol bath, let it soak, and the uncured resin rinses right off. Easy.
The LumiCera crown is not most resin prints. It is a 55% ceramic filler material. That ceramic is what gives the crown its strength, and it is also what makes soaking a mistake.
Leave the crown in alcohol and it turns chalky. You get a white, powdery film across the surface and down in the grooves. The alcohol pulls at the ceramic and hands you back a crown that looks like it rolled in flour.
And it does not take long. I do not have an exact number of seconds for you, and neither did the Shining 3D engineer who walked us through it. What we both know is that the damage starts fast, faster than the time it takes to go handle one other thing and come back.
Think of a good wooden spoon left in a sink full of water. The water is not the problem. Leaving the spoon in it is. Come back later and the wood is dried out, rough, and chalky white. Same idea here. The alcohol is doing its job. You just left the crown sitting in it.
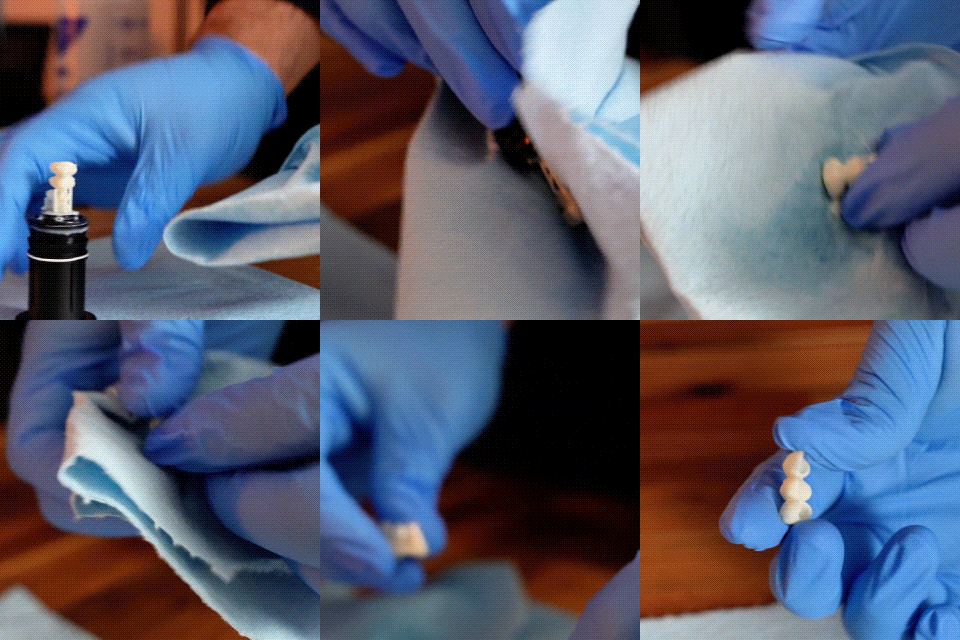
Grab the strong alcohol, not the bottle under the sink
Shining 3D calls for 95% isopropyl or stronger. Most of the alcohol floating around a dental office is 70%, because that is what you reach for to wipe down an operatory. That bottle carries a lot more water, and it is not what the Nano workflow is built around. Keep a bottle of 95%+ next to the printer and use that one for crowns.
Sure, soaking is easier
Sure, dropping the crown in a bath and walking away is less work than standing there with a paper towel for two minutes. For a plain resin model, that is the right call.
But this is a ceramic crown headed for a patient’s mouth. Two minutes of wiping protects a restoration you are about to bill for and bond in. The bath saves you two minutes and costs you the crown. Do not take that trade.
If your crowns keep coming out wrong
If your printed crowns are coming out chalky, hazy, dusted with white powder, or filmy down in the grooves, you are almost certainly soaking them. Switch to the wipe-down method above and the problem goes away.
Cleaning is only one step in the Ceramix Nano chairside workflow. If you want to see how the scan, design, print, and cure all fit together, start here, give us a call 800-821-8962, or send us an email sales@sodiumdental.com.


Leave A Comment
You must be logged in to post a comment.