
Recently, Sodium Dental’s installation team had the pleasure of installing an Owandy IMAX Touch 3D Digital Pano in an Imaging Center in Buffalo, NY. We wanted to share some of the highlights of the installation to shed some light on the steps involved in the process. From our initial site-survey to completed installation, the entire process took less than 1 month.
The Planning
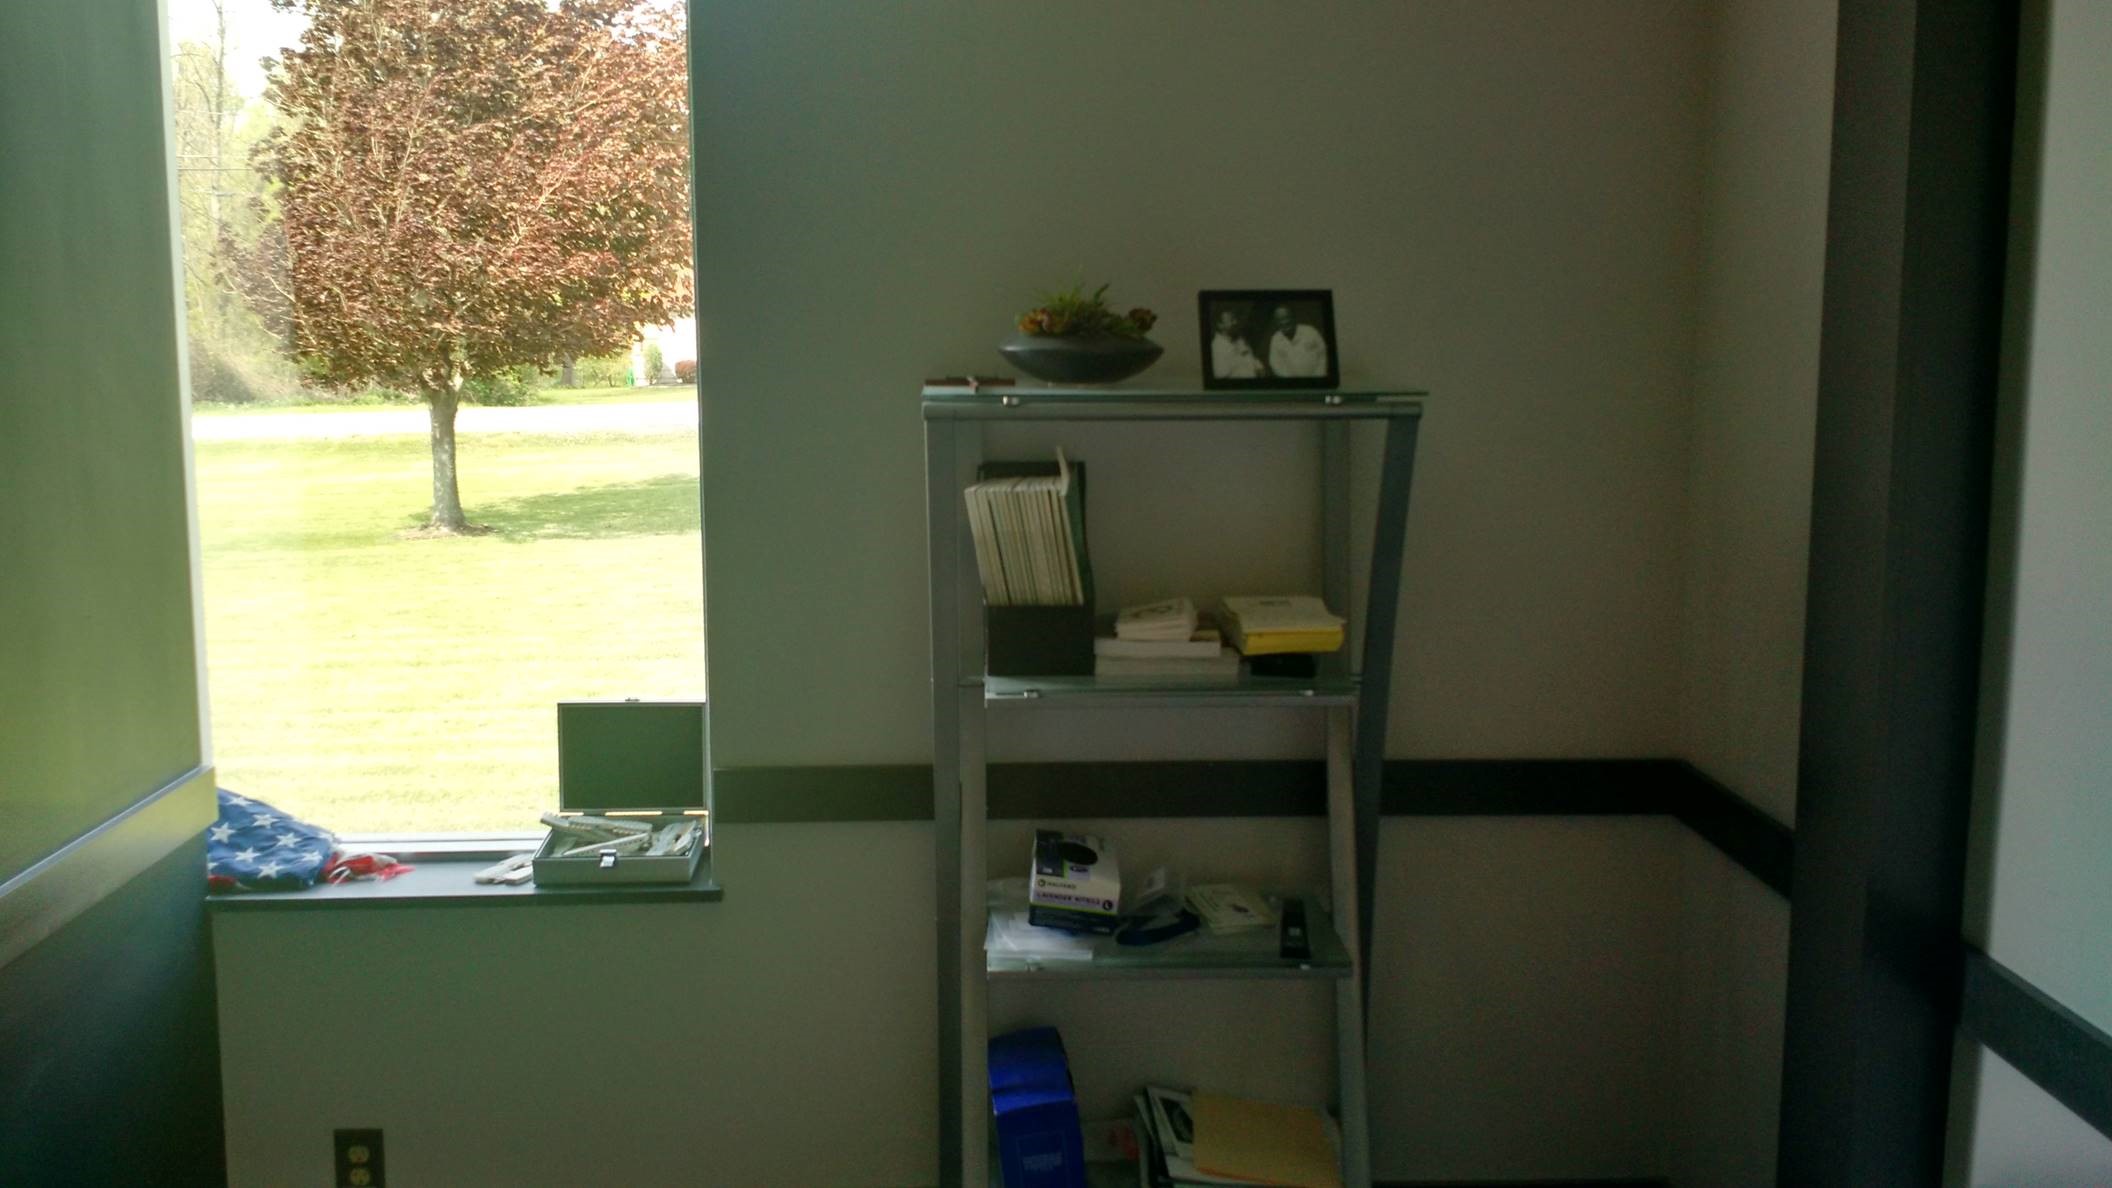
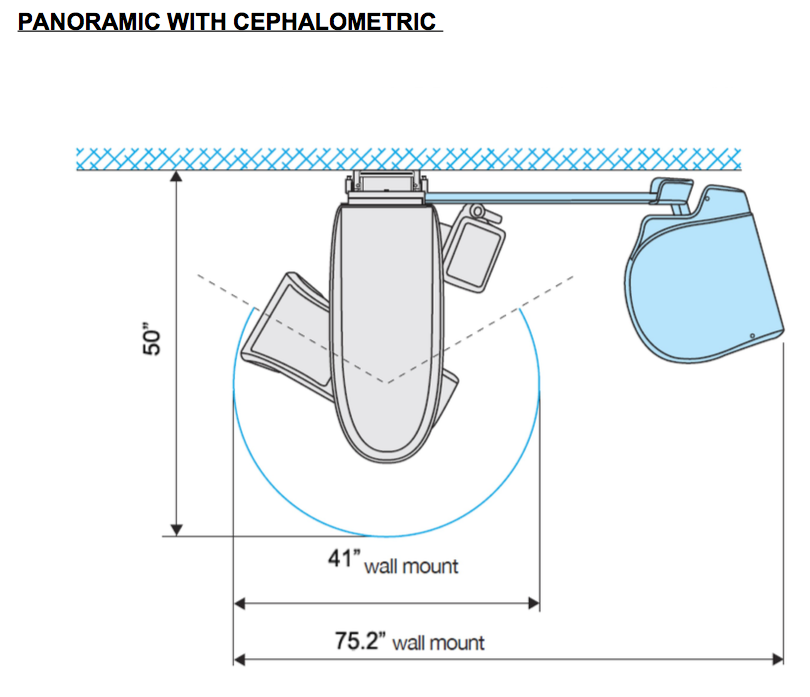
We always begin any major installation of equipment or software by conducting a thorough site-survey. Most of the time this information can be collected over the phone in a few minutes and is a very painless process. Pictures are fantastic resources for determining the best placement and angle. For this particular installation, our points of interest were the wall that we were going to install the Pano on (the bearing wall) and the dimensions of the room to ensure the pano would fit nicely inside with full movement of all its components. The room in question was just to the tolerance of the machine’s dimensions, so we put in a little extra time to ensure the machine would fit perfectly when we arrived.
-

- The chosen installation location
-

- Specific dimensions of the 3D unit
Delivery and Setup
The unit ships on two small-width pallets. They are normally able to fit through a standard sized door so no loading dock is required. Moving the unit to its destination is surprisingly easy. Which ensures the unit can be placed into even smaller fitting areas. While one group unpacks and prepares the pano, the other works to ensure the room is set to accept the new unit. In this installation, the office did not have network jacks, so we simply ran a few cables allowing the pano to plug right in. The only other component to setup is the controlling computer. This can be nearly any up-to-date workstation. We installed the Owandy software and the doctor’s chosen planning software, Simplant Pro in a matter of minutes.

Installation
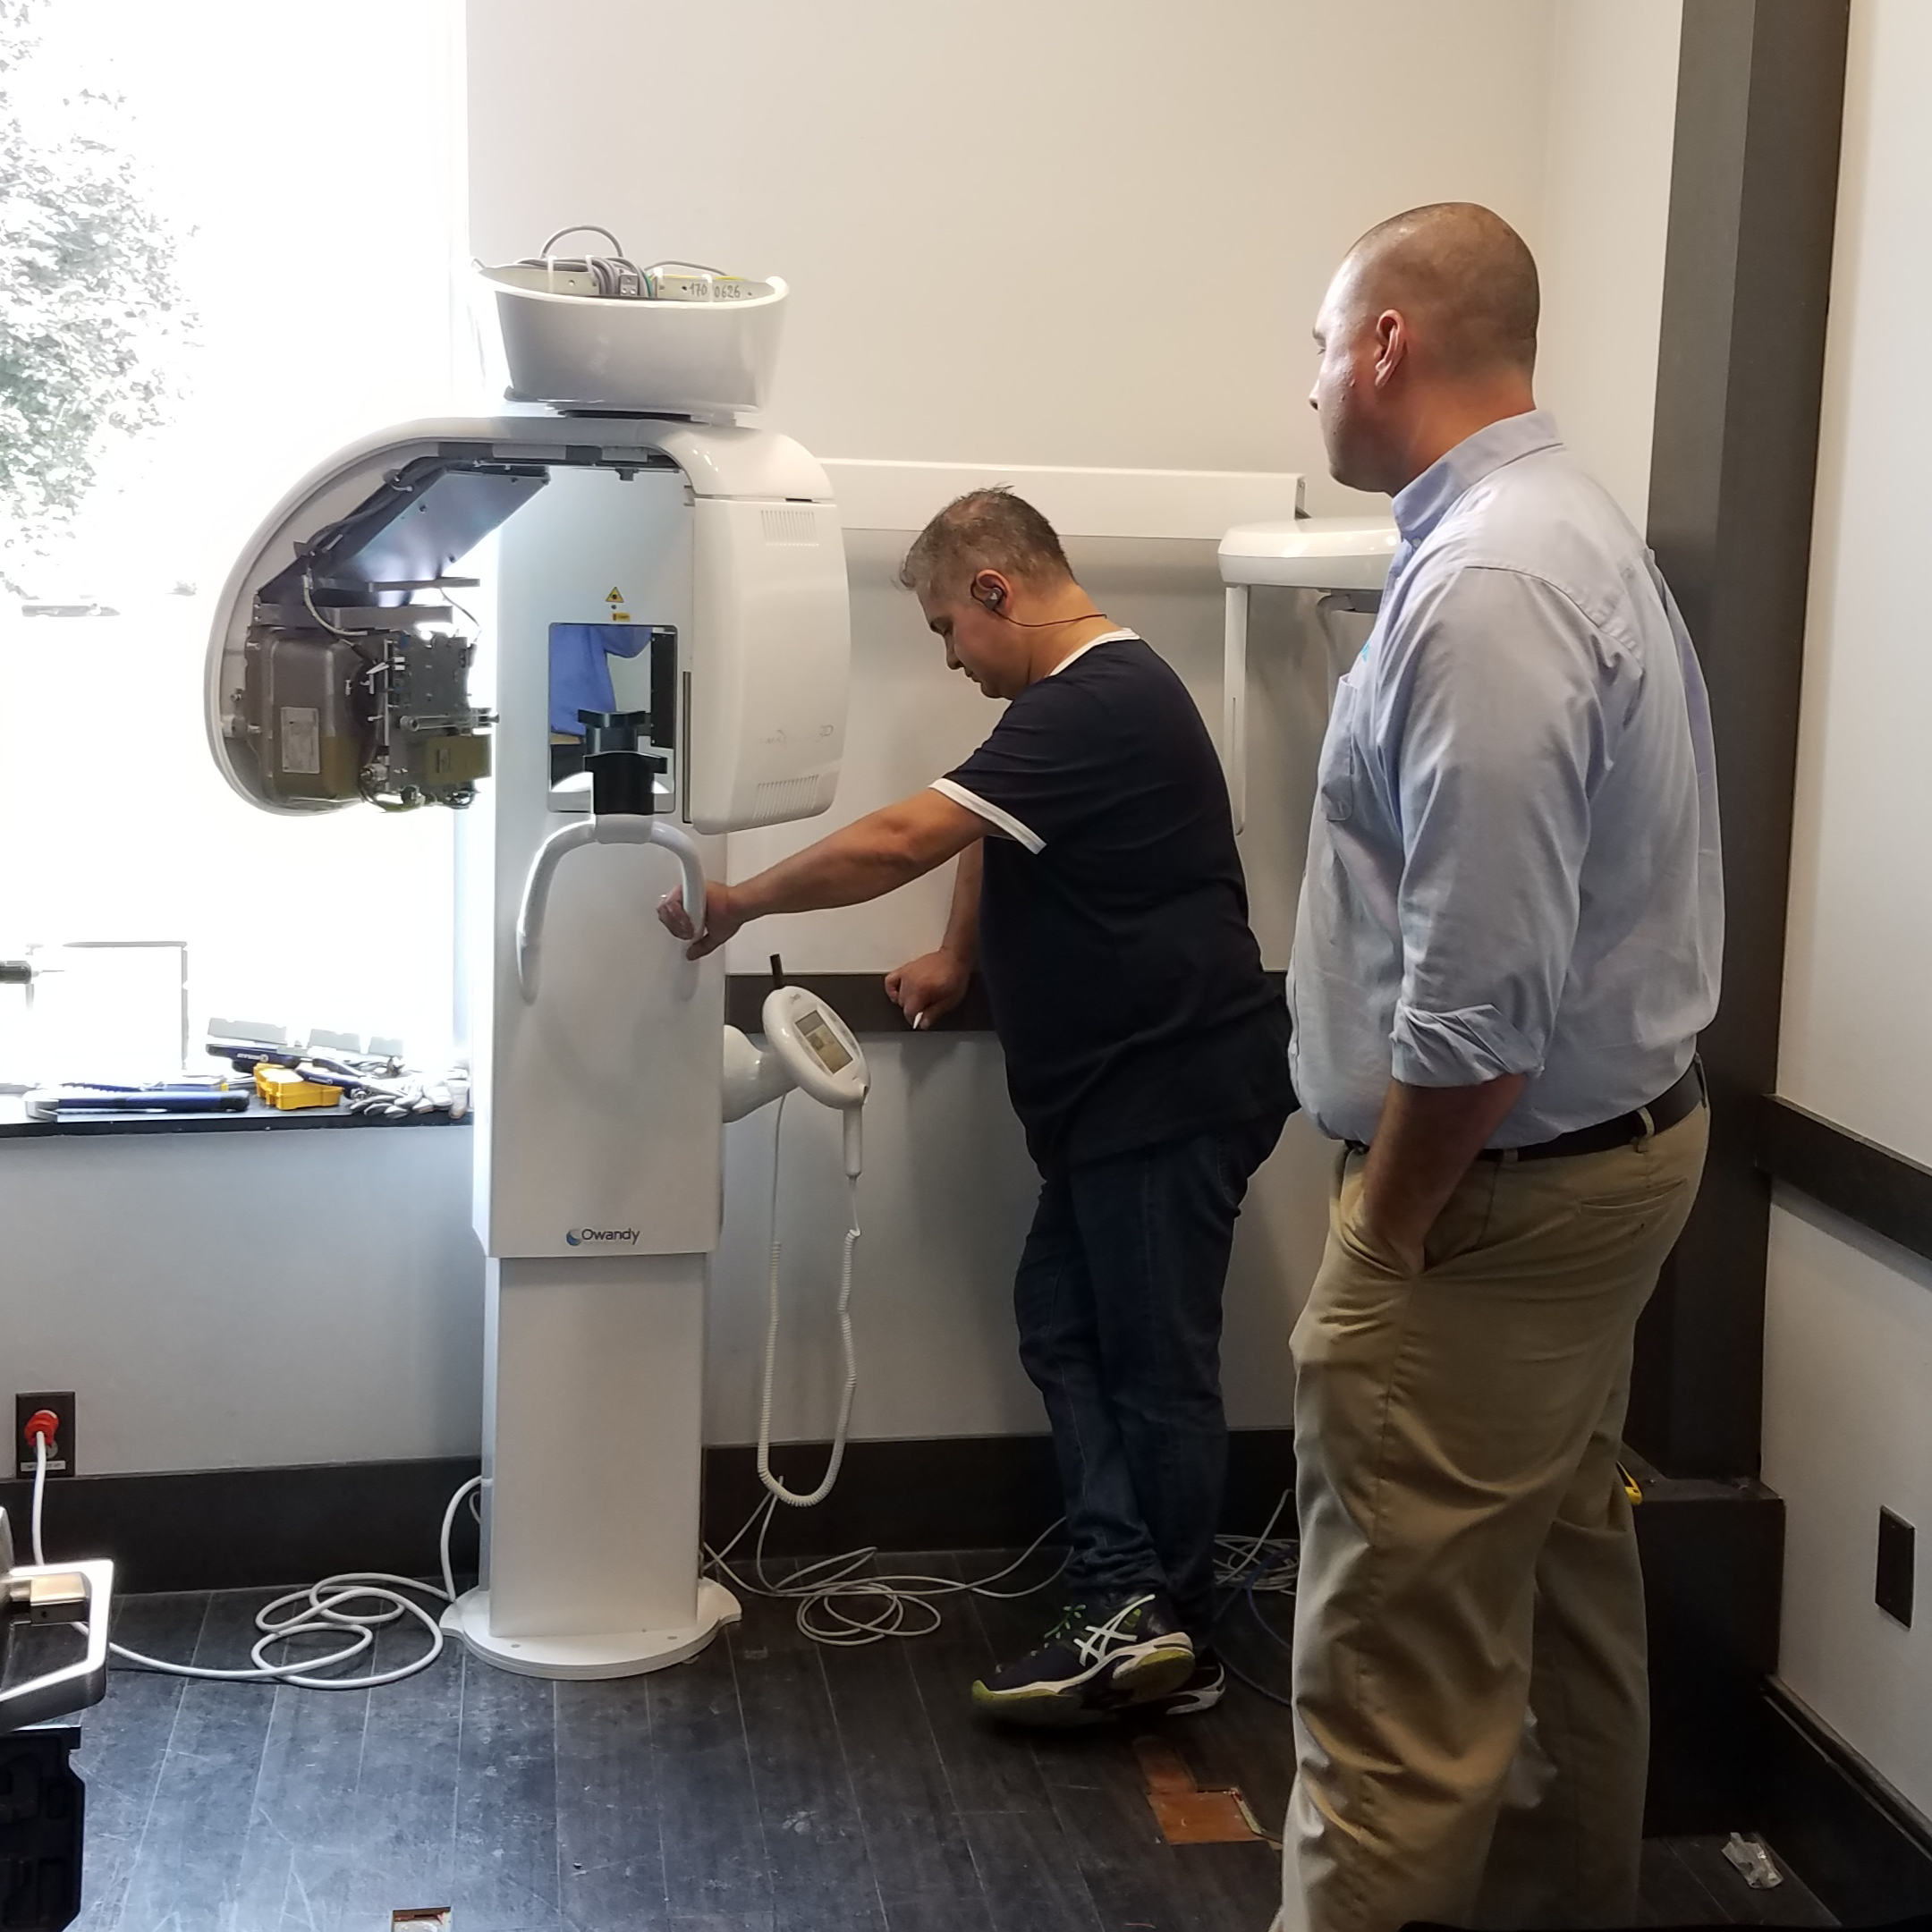
Once the room is finished and the machine is prepped, it’s time to place the pano in its final location. We chose the middle of an exterior wall for this installation. The wall was made of cinderblock, so properly chosen, load-bearing anchors were selected and installed. Placing the unit takes very little time. The majority of the work goes into ensuring the unit is level, square, and movement unimpaired. Once secured to the load-bearing wall, the bulk of the installation beings to occur. Our imaging technicians set up the pano’s internal workings for the specific office’s requirements and take it from shipment state to diagnostic ready.
Finishing Up
From start to finish, the unit took 6 hours to unbox, mount, install, calibrate, and test. All that’s left to do now is have the doctor take a look at the fantastic new images and try out the 3D capabilities. The doctor was thrilled with the results. He said the images were so crisp that he would be able to use the machine for future denture creation and alternative planning. He was also thrilled with the speed of the unit. He commented that his old Planmeca took nearly 5 times as long to take 3D images as the Owandy. The installation went so smoothly we were able to conclude the installation in one single day even though we had allotted two for the installation.
-

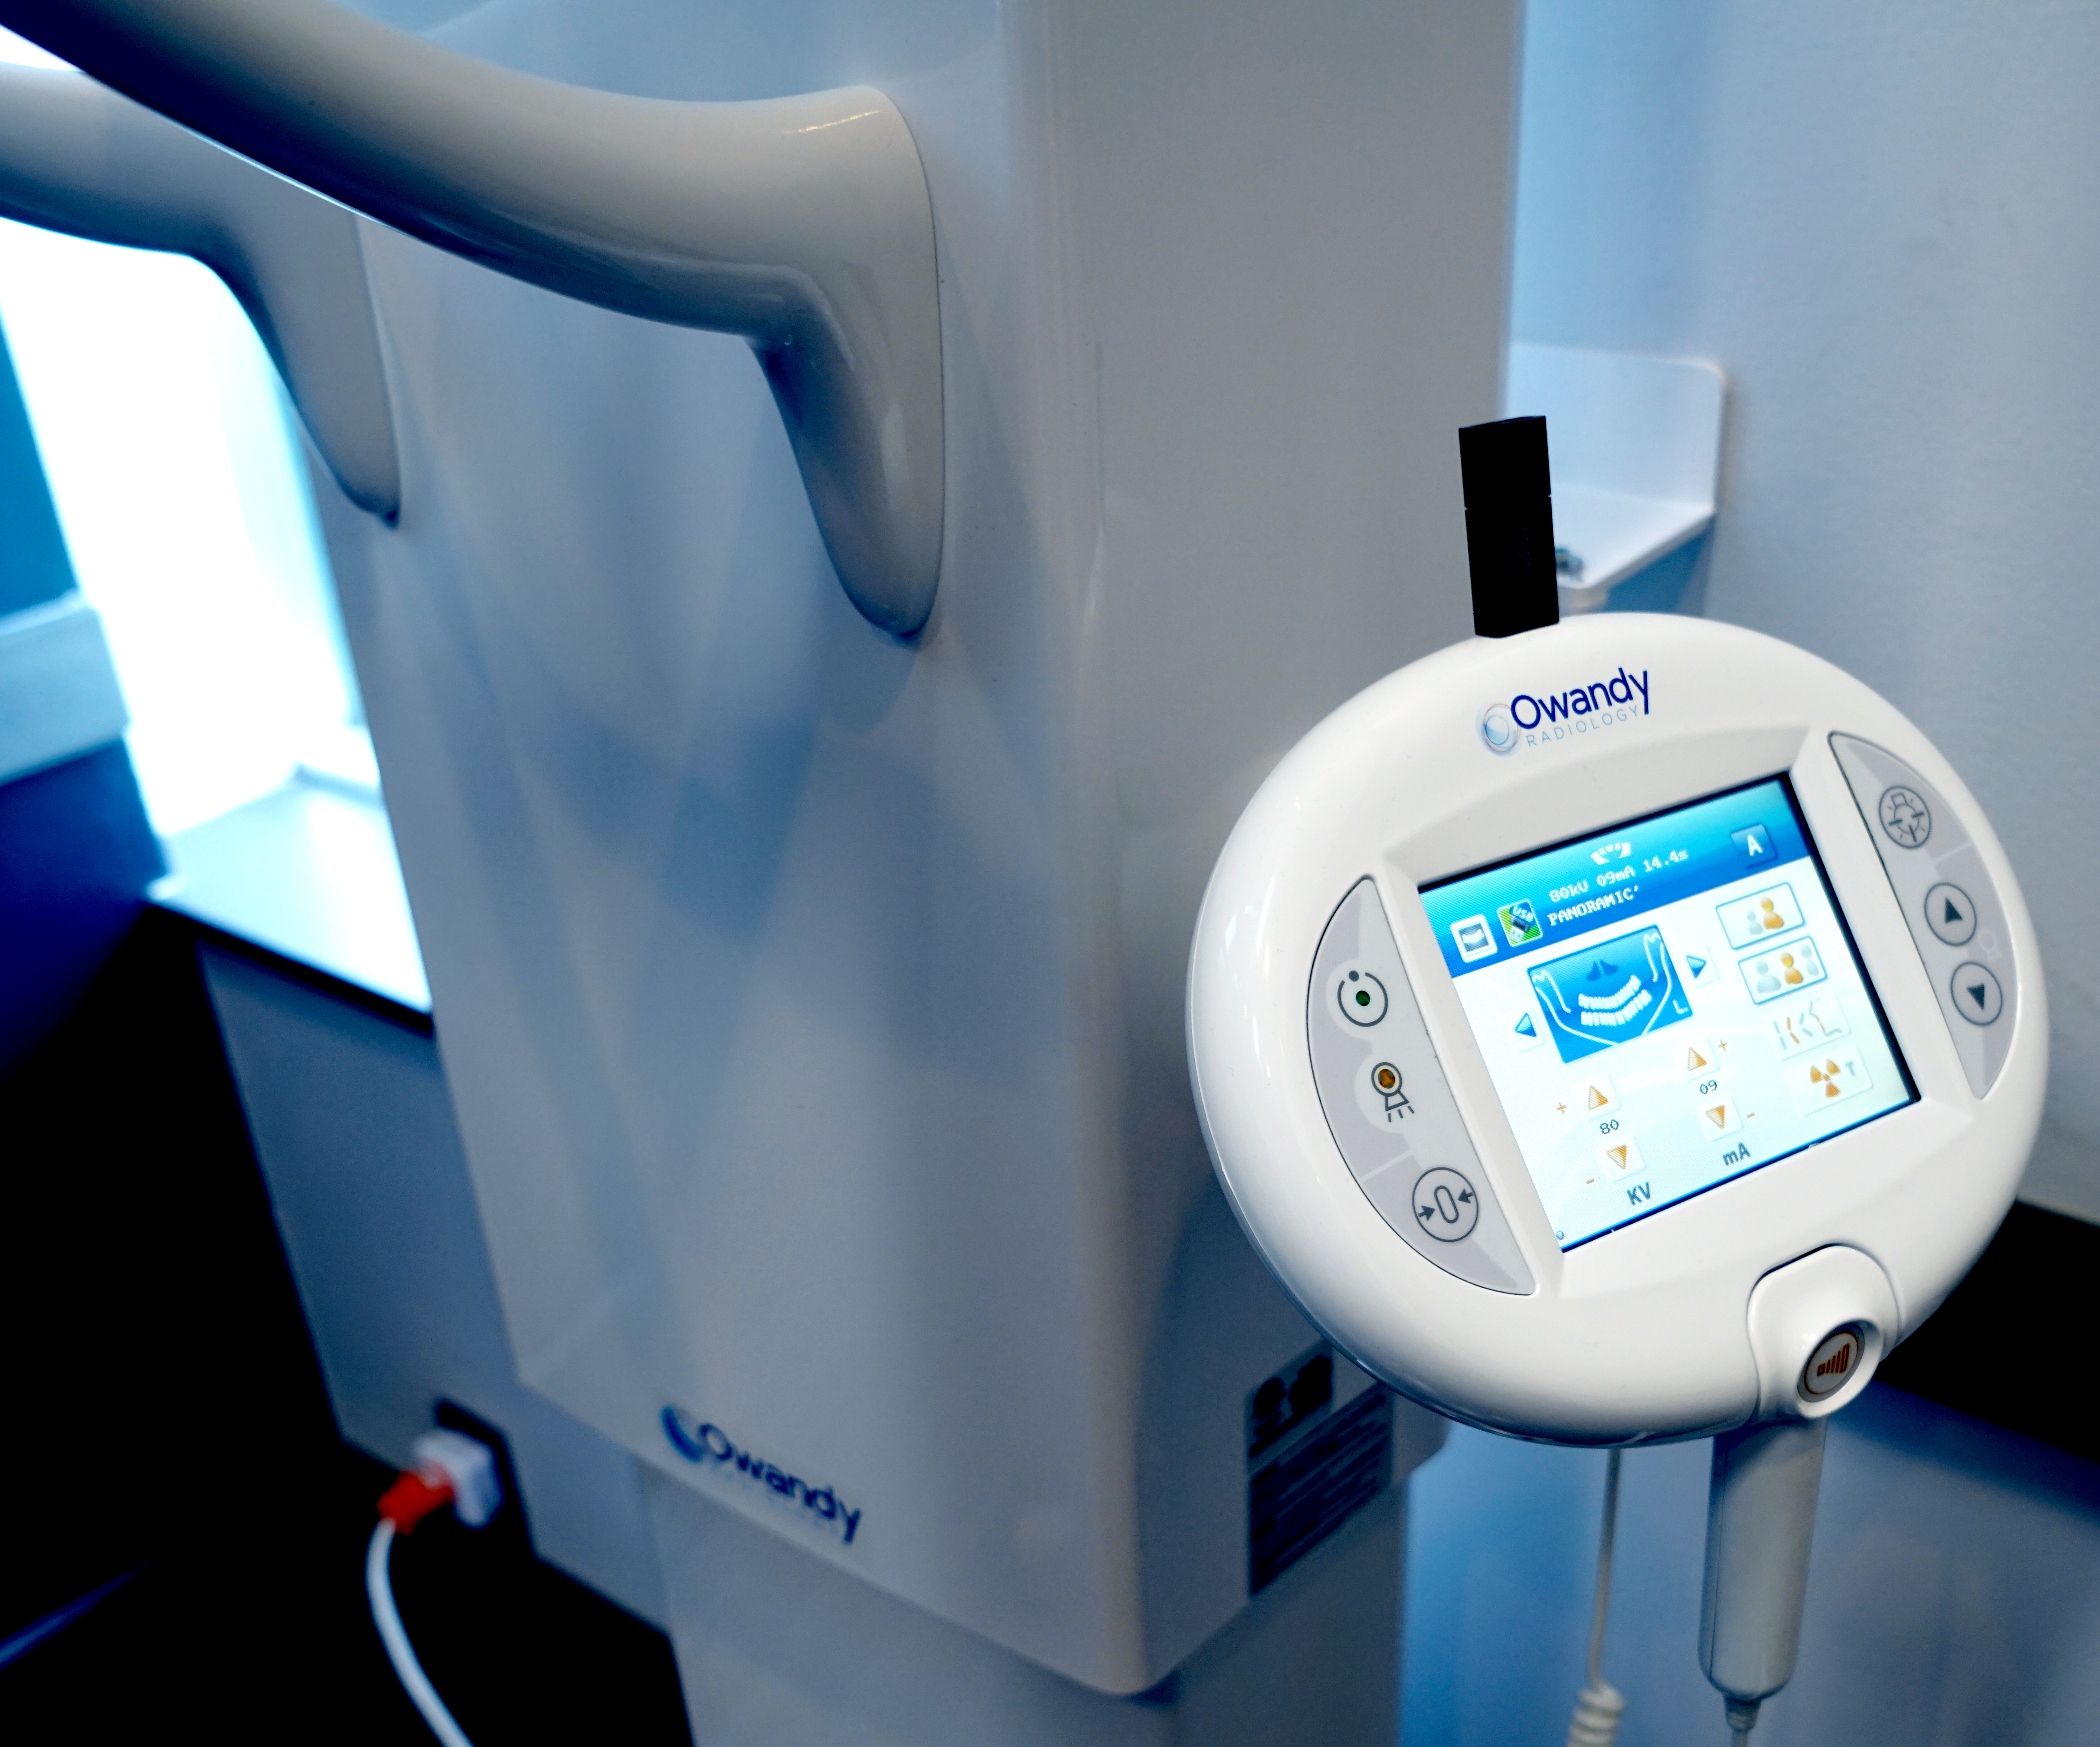
- Touch Screen Control Unit
-

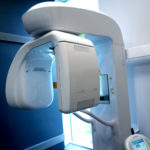
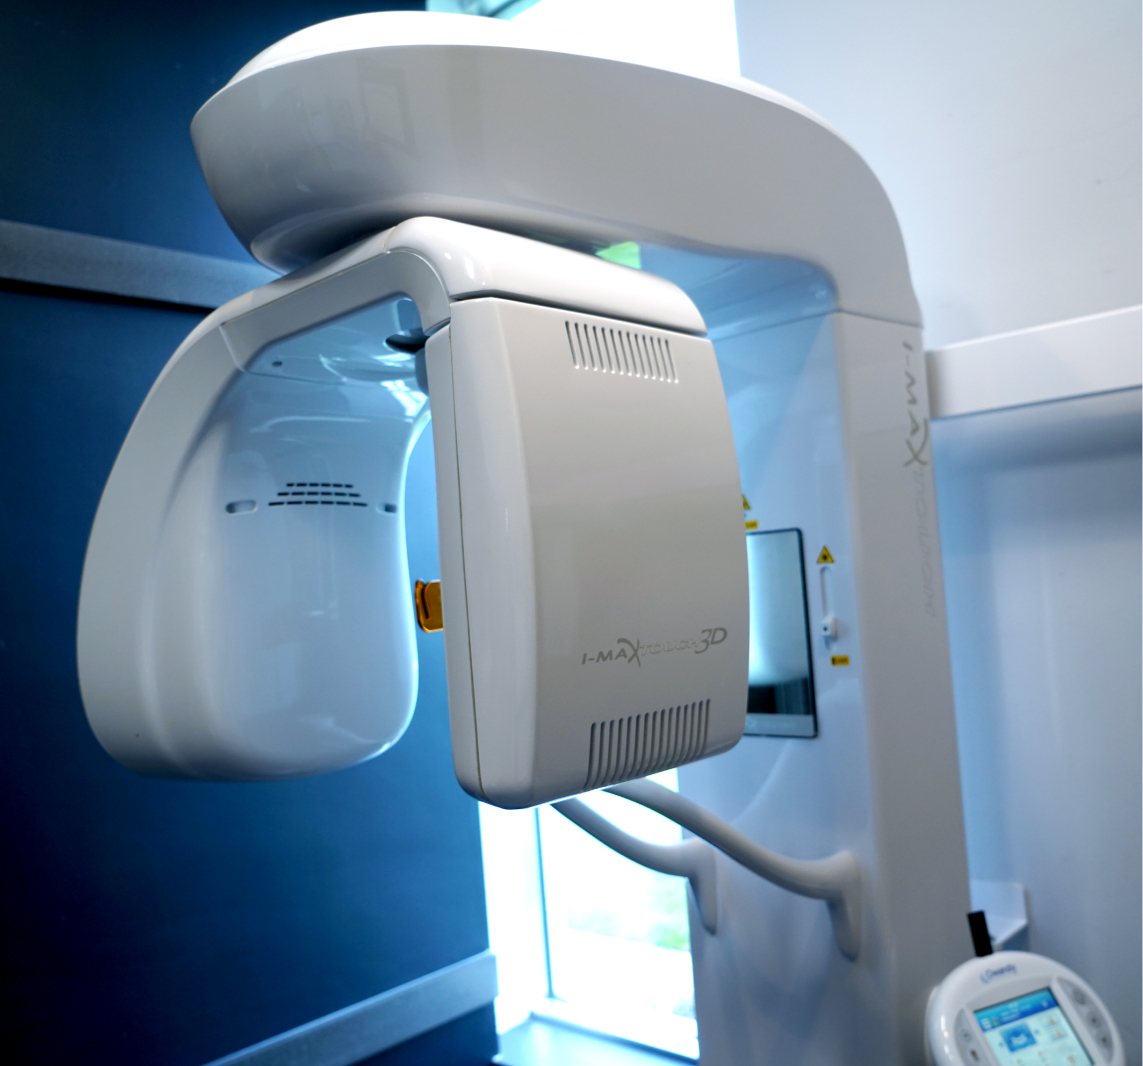
- Installed unit, fully extended

-
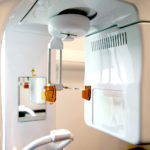
- Pano head showing full rotation
-
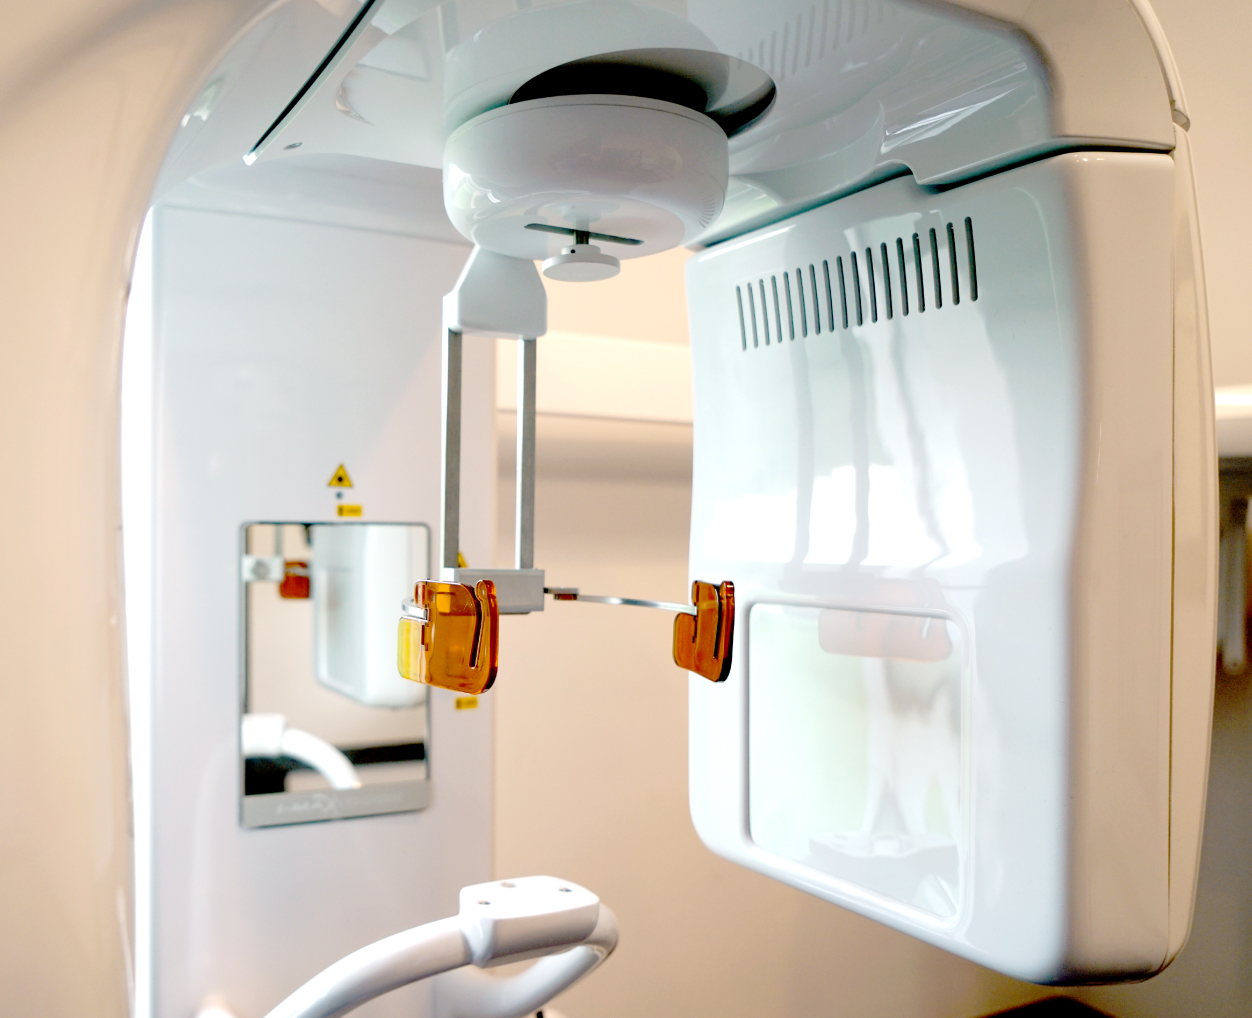
- Imaging temple guides and chin rest/biteblock location
Leave A Comment
You must be logged in to post a comment.